Saturday, June 9, 2012

Carnival Cake & Cupcakes


I got an awesome request for a 
Carnival cake and matching cupcakes.
I had complete creative freedom, 
so I spent some time looking things up online,
and came up with this final design!


A circus tent cake with its own Rice Krispie's Ferris wheel!


The general assembly was pretty easy until...


I had to put up the Ferris wheel!
My original plan was to make the Rice Krispie treat as normal,
Then I wedged a wooden dowel into it
and stuck that into the cake.
That was fine and dandy until the wooden dowel
made the entire Ferris wheel split in half!


Thanks to Dave's quick thinking, 
we made a whole new Ferris wheel.
This time we made two separate treats and stuck them
together with a dowel in the middle.
Worked out SO much better! 


With the Ferris wheel still cooling, 
we couldn't add it until we got to the party.


Can't forget the cupcakes!

Along with the Carnival cake,
we made Cotton Candy and Popcorn cupcakes!


The Cotton Candy had buttercream frosting with
a topping of REAL cotton candy!


The Popcorn was topped with buttercream frosting and 
we hand made popcorn by cutting mini marshmallows
and sprinkling some yellow food coloring. 


I got the printable cupcake wrappers from...

Tuesday, May 29, 2012

URI Graduation

It's Graduation season!

Here's my first of the season...

It was for a family friend that I grew up with.

I had plans of a more elaborate topper,
but turns out the cake store was closed.
So, I had to be creative!


I think the sides were awesome!
I've never done such decorative sides,
and I was worried it'd be too much.
But I think it's just Perfect!


Here's a photo from the graduate
of the inside checkerboard design!


Sunday, May 13, 2012

Minnie Mouse

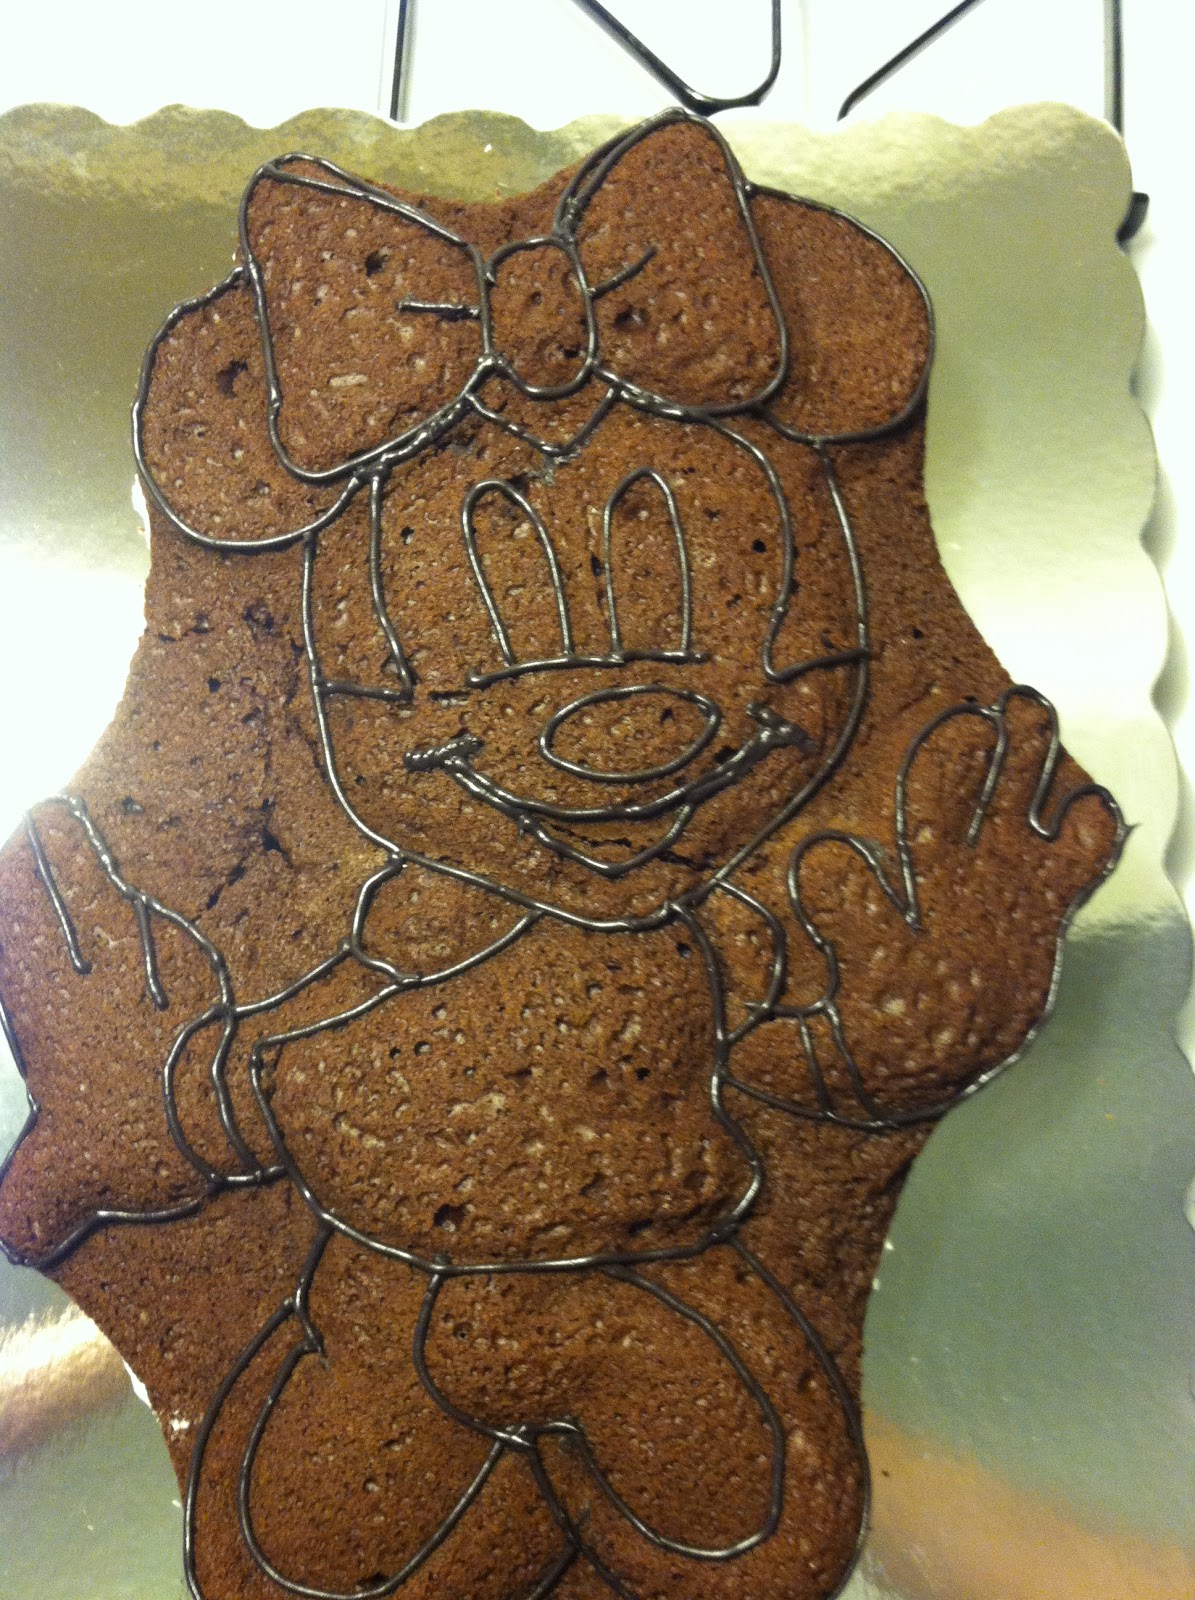
This weekend, I made Minnie Mouse for a long-time friend!

It's been awhile since I've made such 
a detailed character cake.


It's so much fun to see the progression!


We were able to find boxes with the window.

I think it looks so much more professional!

Sunday, April 22, 2012

Soccer Cake


It was Dave's 22nd birthday!

I chose red and blue because they are the 
colors of his favorite team, F.C. Barcelona.


 Dave had a great time and we were so happy that
everyone was able to make it out to celebrate with us!

Sunday, April 15, 2012

Owls Baby Shower

So after talking to some of my followers, I've decided to just post photos of my creations. Anyone that would like directions, please feel free to email me and I'll give you step by step directions!

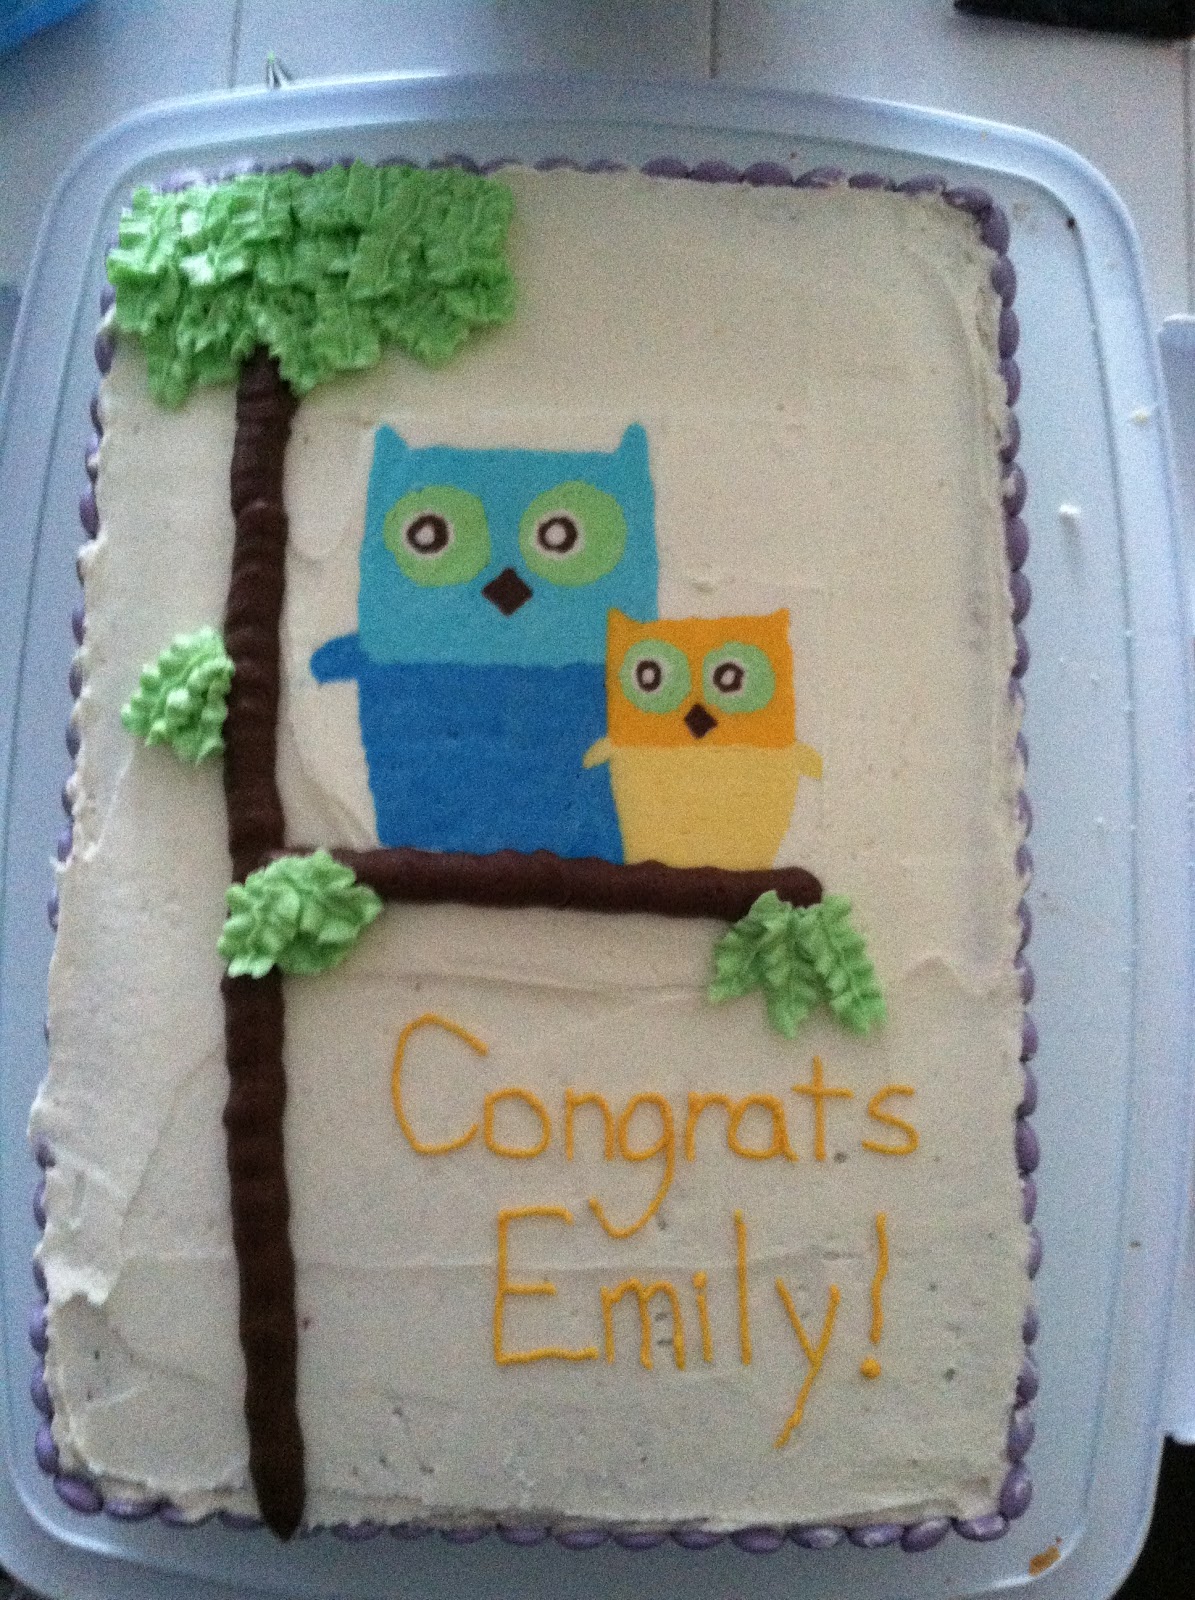
Here's my latest cake!

E's Owl Baby Shower
I got my inspiration from her invitation 
and it seemed to be a huge hit!

Yes, those are M&Ms on the sides!


Congratulations E! 
I hope you loved your cake!

Saturday, March 24, 2012

Backyardigans

 Here's my newest creation!
It's called a "Frozen Buttercream Transfer."
So far, it's the coolest thing I've done!


I started with a photo of the Backyardigans covered with wax paper and taped to a flat cutting board. I did black and white because I didn't want to waste colored ink, but I left the computer on with the image next to me so I could compare colors.

Starting with home-made buttercream frosting, I mixed all the colors of the characters and their clothes. Some colors were left to make at the end - such as dark blue, which I made using the leftover light blue. Starting with white and black, I used a #2 tip to make the eyes of each character. Next, with light blue, I used the same tip to fill in Austin's shirt. Once all areas with light blue were covered, I darkened it to color Pablo. 

From there I worked on each character progressing by which color was the lightest so I could use the leftover for another color - such as yellow turning into orange, etc. 

Here's the nearly finished product before filling in the background with white and wrote the birthday girl's name (backwards, unfortunately!). Once filled in with white, I used a baker's spatula to smear and press down the image so all air pockets would be filled. Last, I put the image in the freezer on the cutting board for a couple hours.


This is the final product before being pulled away from the wax paper. I'm totally impressed by how much the characters look real! This is such a great way to make a cake when character pans aren't available and you're not the best artist.

Here's the completed cake!
I added swirls on the top edges and a solid line along the bottom.


Here's the cupcakes to go with the cake. 
Made with help of J (The 4 year old I take care of!)


Credit goes to...
http://cakecentral.com/tutorial/how-to-create-a-frozen-buttercream-transfer

Sunday, January 15, 2012

Lightening McQueen


I made this Lightening McQueen Cake for a third birthday. 
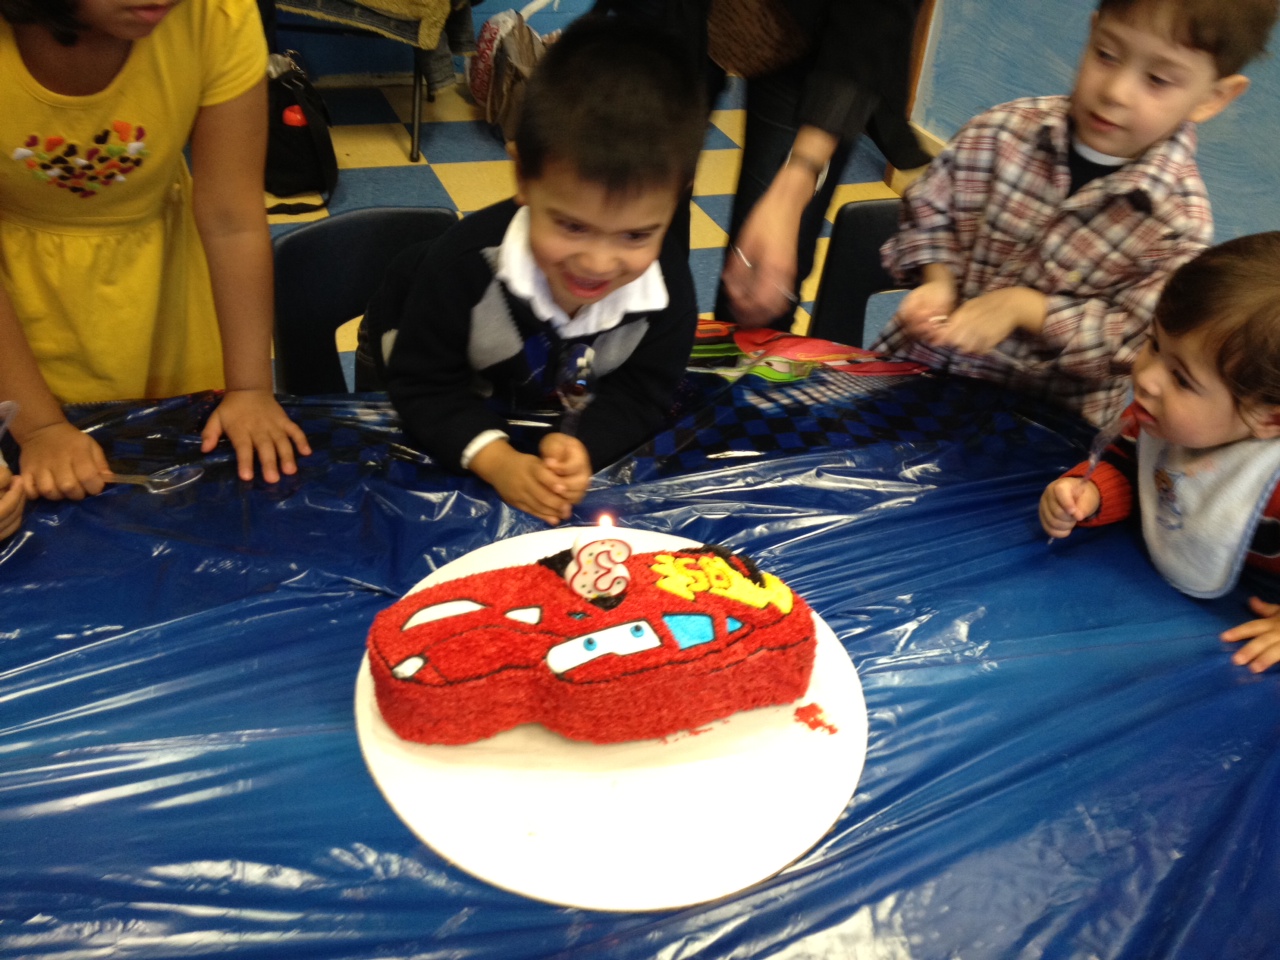

First, I baked a basic yellow cake with red and blue sprinkles. I mixed very little "Royal Blue" with my white icing. I covered the windows and lights with white and blue icing in their respective places.

Next, I mixed "Black" with chocolate frosting and outlined the details of Lightening McQueen.

I filled in the tires next because they required such small detailing. I also outlined the lightening bolt and started the eyes.

Using "No-Taste Red" with most of my white icing, I made the icing the most vibrant red possible. This required mixing and cooling in the fridge periodically. Not sure why cooling worked, but it made the color more vibrant each time. Once the icing was as red as I wanted, I covered the cake. Next, I mixed "Lemon Yellow" with some white icing and "Orange" with the rest, and finished the last pieces of Lightening McQueen.

 This is the 3-year old so excited about his cake!